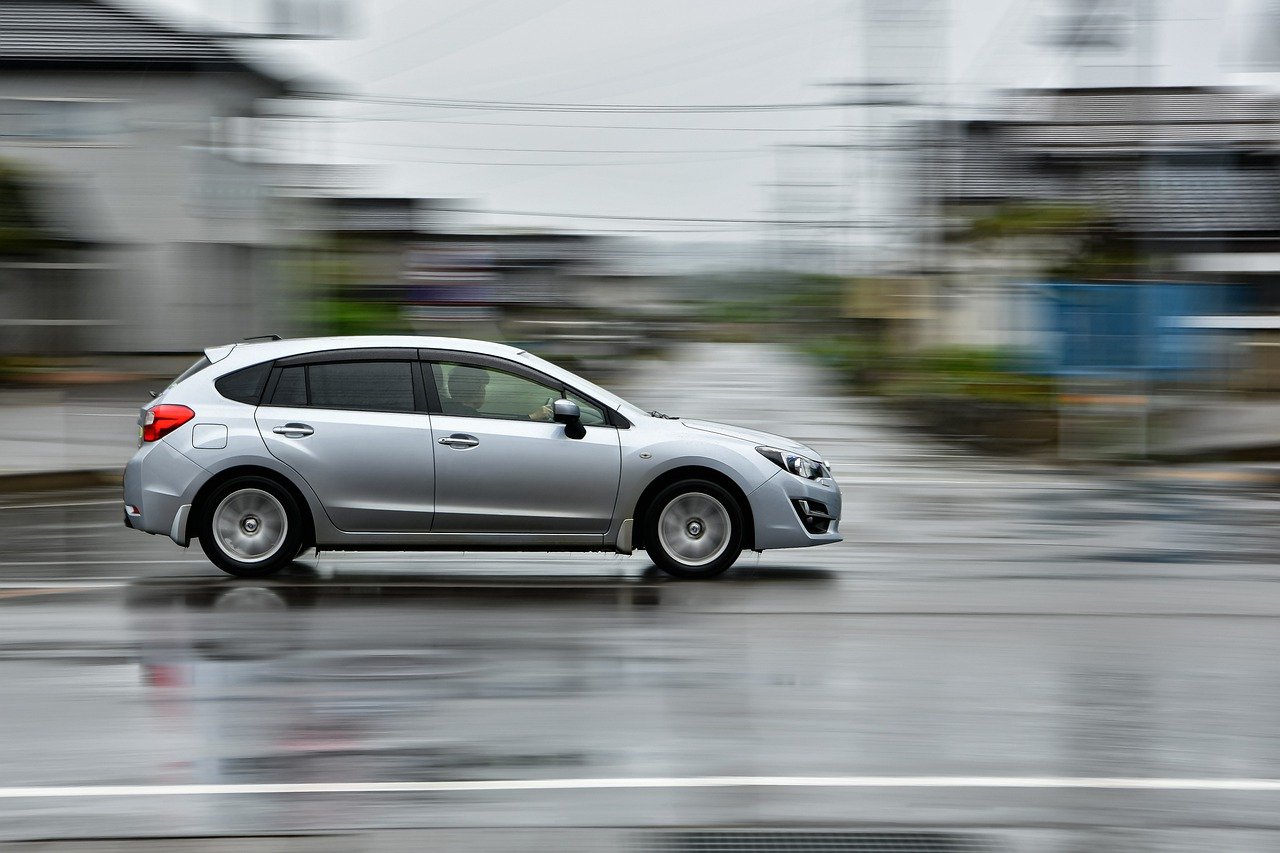
Bedrijfsautoverzekering afsluiten? Stel jezelf deze 5 vragen
Heb je onlangs een bedrijfsauto gekocht? Dan wil je hier zo snel mogelijk gebruik van maken. Dit mag pas als...
Wat kost een bedrijfsauto verzekeren?
Een bedrijfsautoverzekering afsluiten brengt kosten met zich mee. Je betaalt namelijk iedere maand premie voor deze verzekering. Het is alleen...
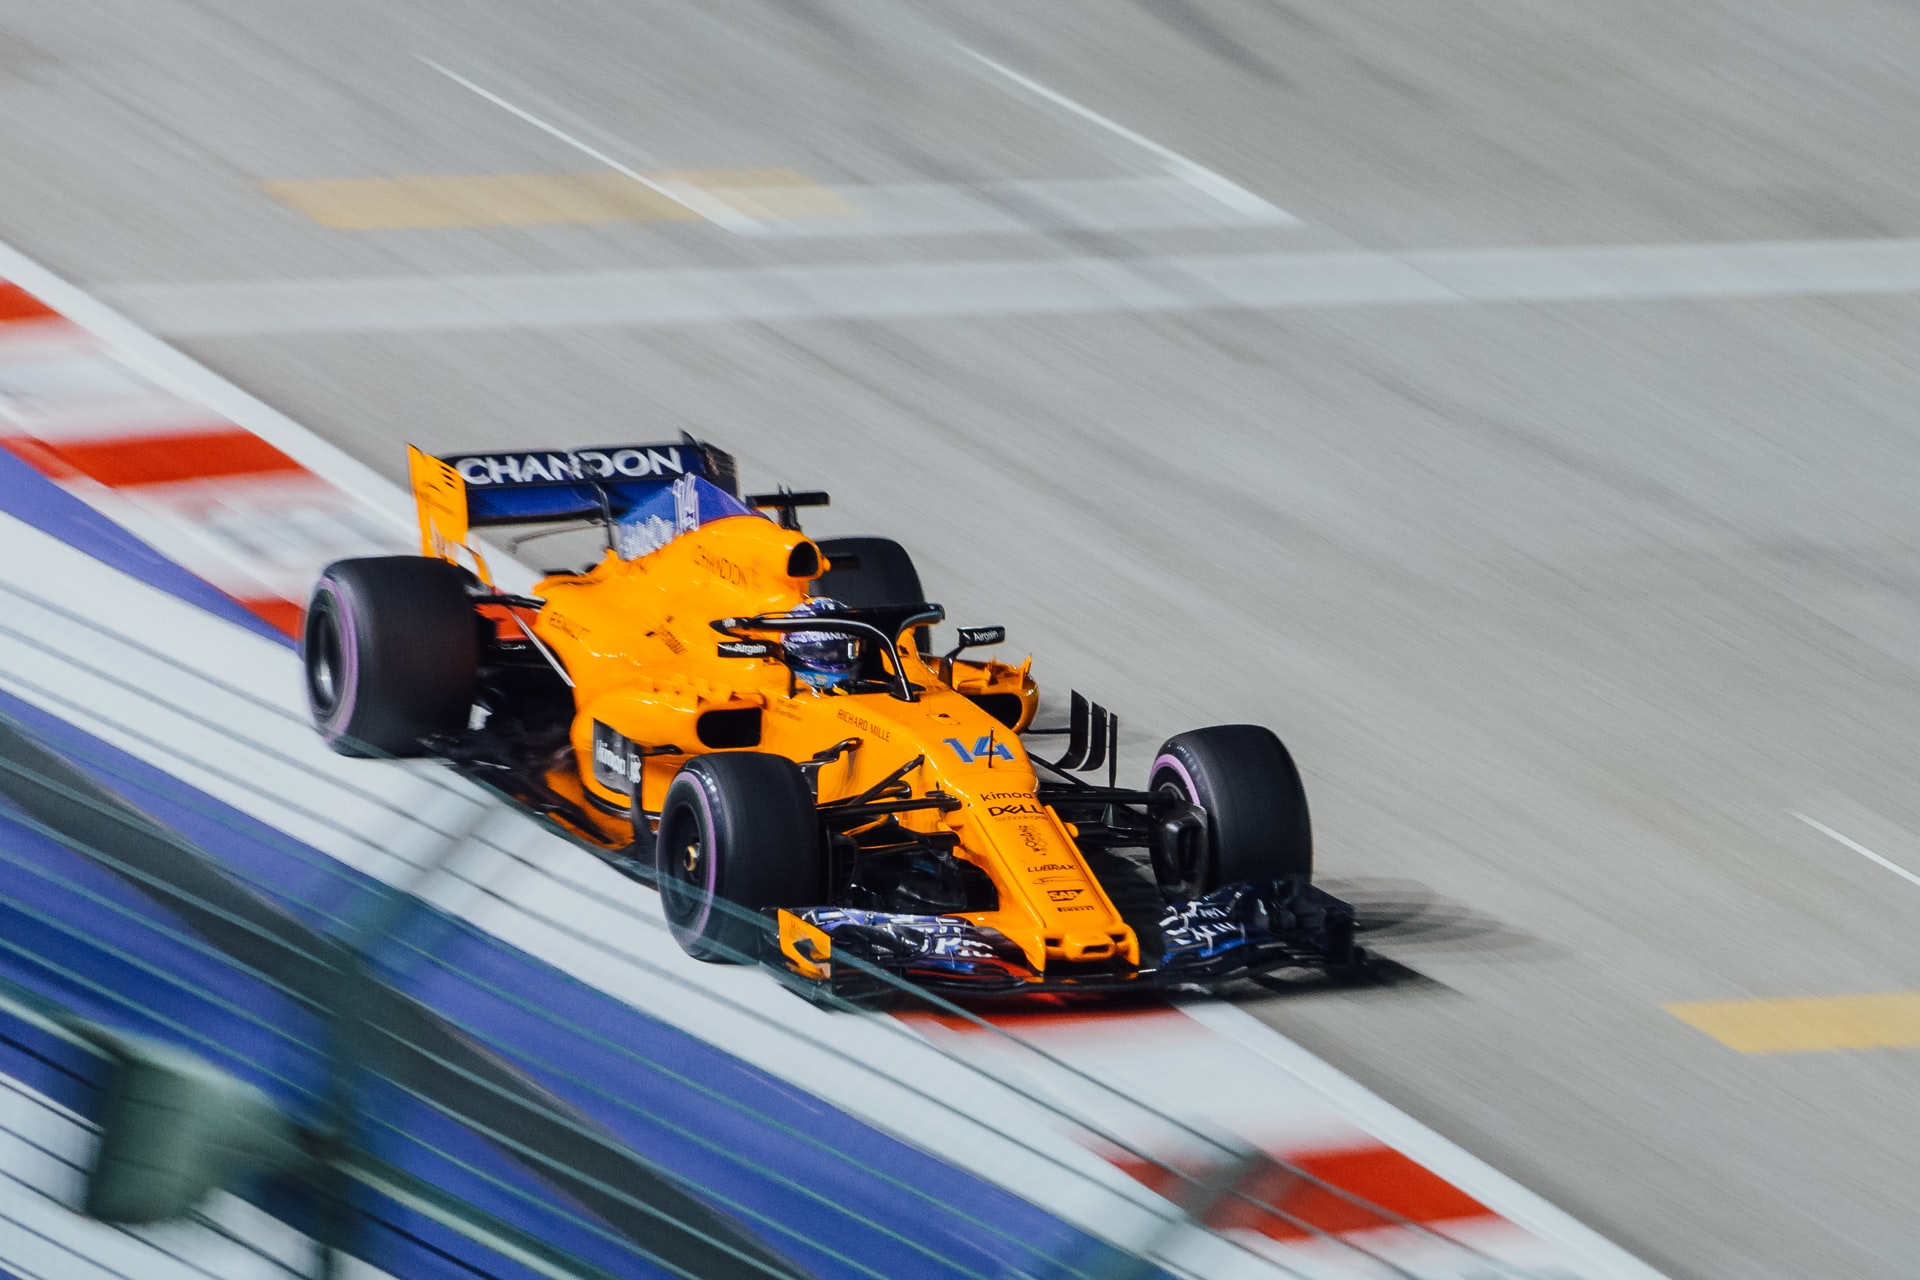
Het begin van Formule 1
De Formule 1-sport wordt wereldwijd met het jaar populairder. Nu de Nederlandse Max Verstappen boven iedereen uitsteekt en wereldkampioen is,...
De leukste vakantiebestemmingen tijdens kerst
Kerst staat voor de meesten bekend om familie, vrienden, gezelligheid, lekker eten en feestjes. Als je aan een droomkerst denkt...